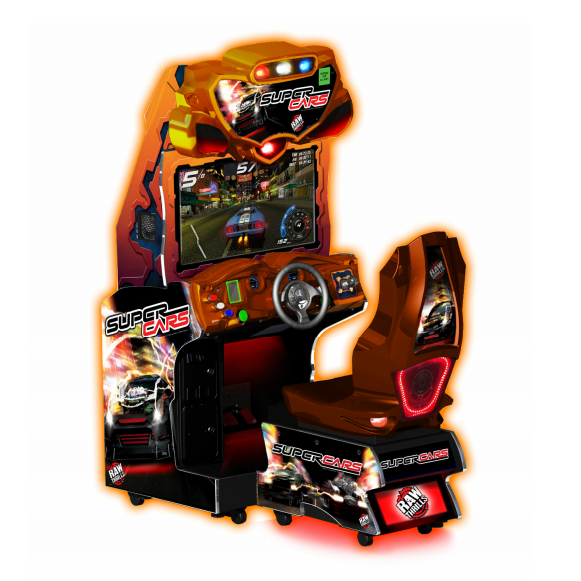
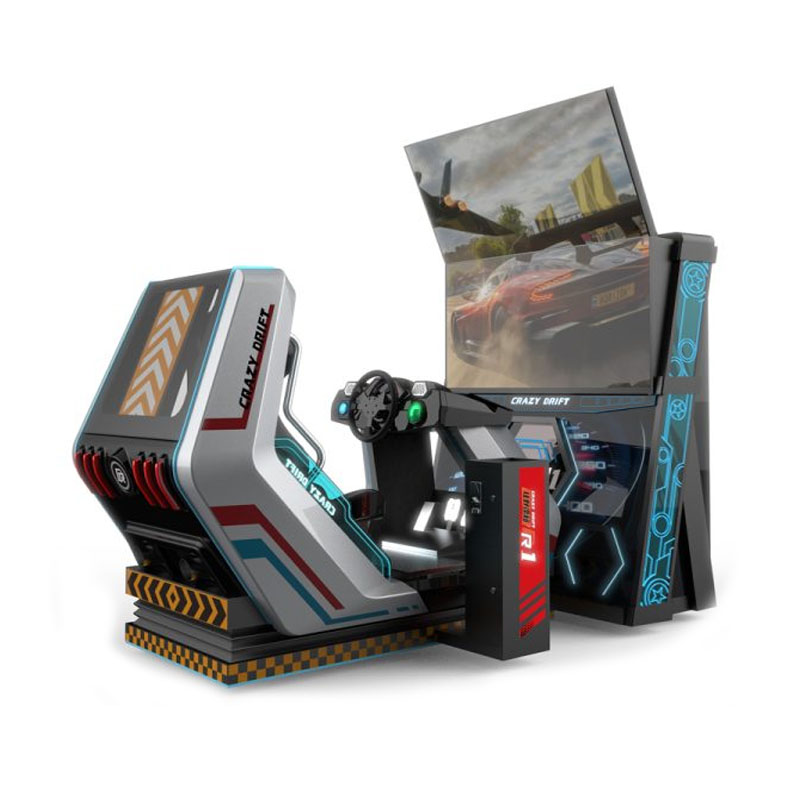
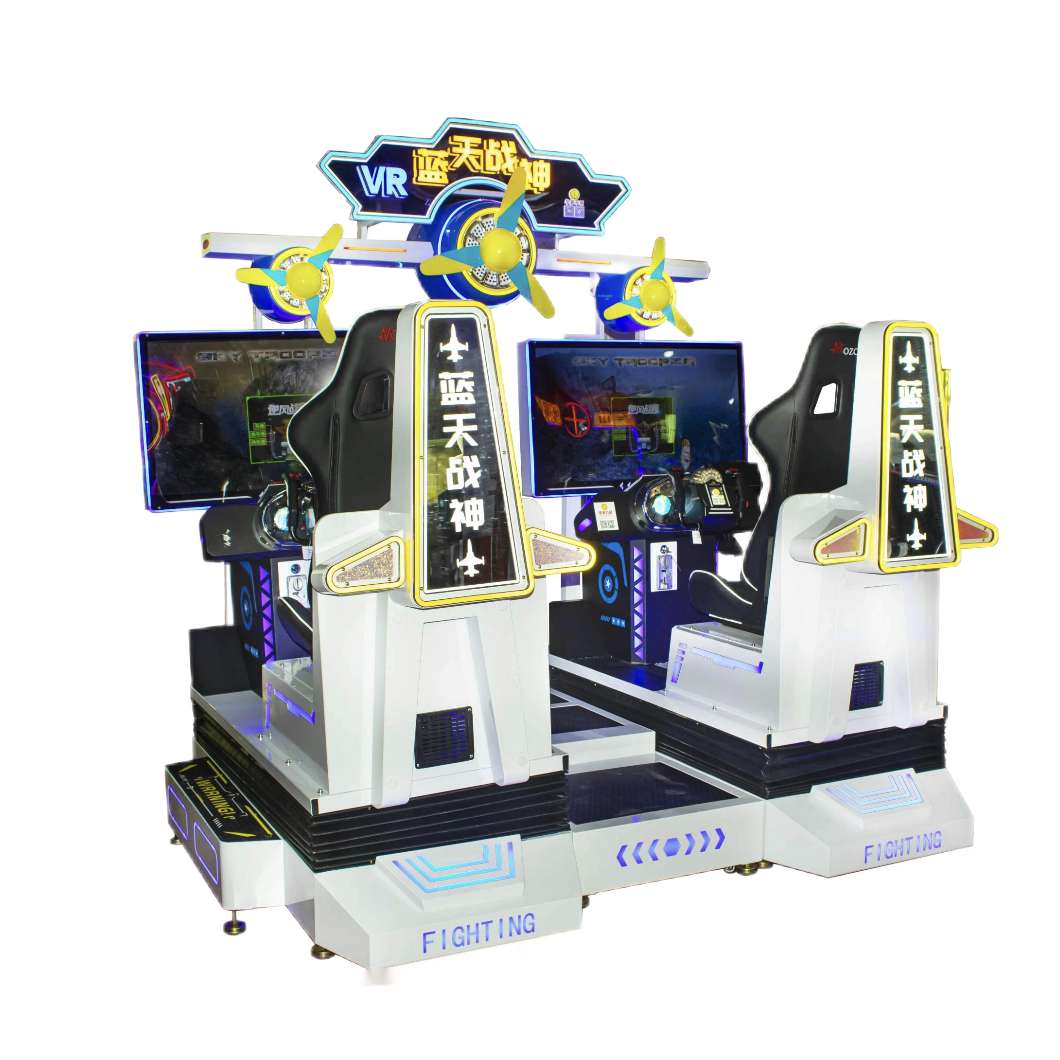
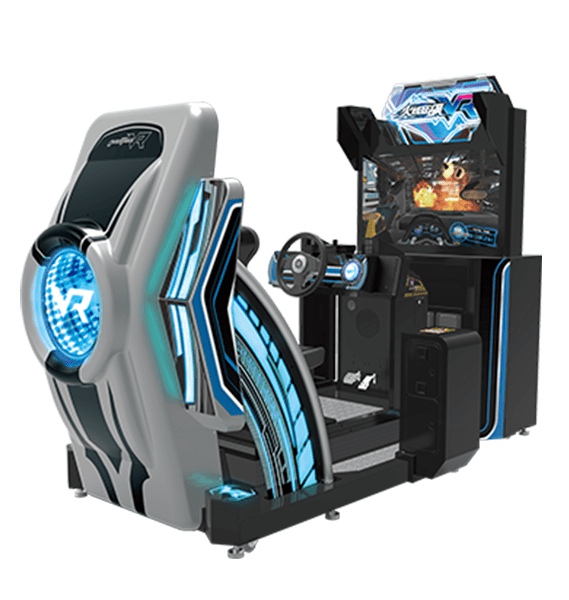
Best Racing Arcade Games|Super Car Arcade Racing Games For Sale
Seat Assembly Procedure
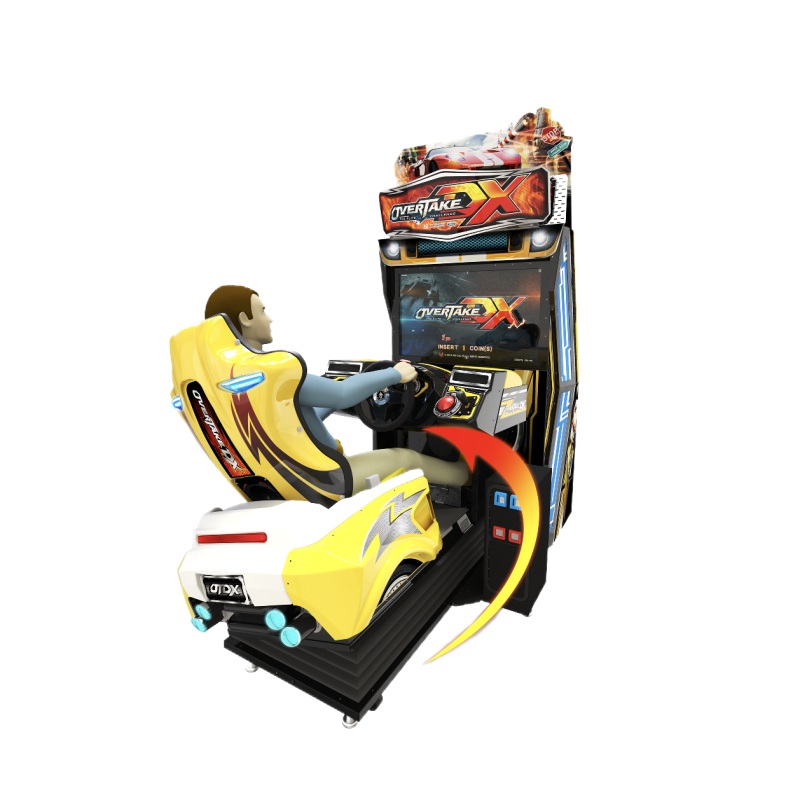
- WARNING: The cabinet is top heavy. Install only on level surface. Use the leg levelers to make sure the cabinet and seat are stable. Do not push against plastic parts during movement.
- Roll the cabinet and seat to the intended location and lower the leg levelers until both are equal height and stable.
- Reach inside the base of the cabinet remove the bolts to fasten a mounting rail to the cabinet and set aside. Individually pull the rail out, flip it end over end and reinsert it. Fasten the rail to the inside of the
- cabinet with bolts until finger tight; some movement is required in the mounting rails to align holes with seat pedestal assembly. Repeat for the mounting rail on the other side. See diagram.
- Roll the pedestal near the cabinet and align the opening in the pedestal with the ends of the rails. Slide the pedestal forward onto the rails leaving enough space to attach the wiring harness.
- Mate each cable connector and press firmly to seat the contacts. Ensure no wires are pinched during the pedestal attachment. Fasten in place with the ¼”X 20 tamper resistant screws and large flat washers provided.
- Tighten the screws firmly with the wrench provided, and then tighten the bolts for the mounting rails.
- Adjust all levelers until both cabinet and seat are flush and parallel with each other. Inspect for pinched wires before firmly tightening the remaining fasteners to attach the two pieces as one.
Power Up Procedure
- Plug the game line cord into an appropriately wired and fused AC receptacle.
- Locate the game AC main switch to the bottom left side on back of the game cabinet.
- Turn the switch to the ON position.
- The game attract feature will begin after the game is finished loading- approximately 1 minute.
- Proceed to Switch Test of this document and verify proper game operation.
Game Networking
- NOTICE: To link the two games together, use the crossover cable provided in the spare parts bag. Use of another cable other than the one shipped with the game could void warranty or cause games not to link. Use network cables which are at least CAT5 grade.
Networking Considerations
- Each Super Cars game comes with a network cable. Optionally, a hub can be installed and located remotely to link additional units. Linking three and up to eight units will require a hub and needs to be purchased separately.
- Take care to protect exposed game wiring from general foot traffic around the game. Use a conduit or wire way to protect the cables as needed.
- Please mark linking cables for your game if other such cables are in the vicinity to avoid confusion. Network cables are not marked or coded.
- Avoid routing the network cables near sources of heat, moisture or electrical energy such as neon lights,compressor motors, transformers etc.
Networking Setup
- Remove the network cable from the spare parts bag inside the cashbox.
- Connect each end of the cable to network jack behind each PC.
- Neatly route the cable through the notch on the back of the cabinet.
- Use the SYSTEM ADJUSTMENT in TEST MODE below for enabling link feature .Press TEST Button to
- access TEST MENU. Iis mounted inside the coin door of the cabinet.
- Reset both games simultaneously and verify that link is successful. If not, check the settings for Machine ID conflict and make sure that the network cable is connected properly and secured. Please refer to the Game Troubleshooting Guide on this manual for more details.
CRC Check Menu
- From the Utilities Menu, select CRC Check and enter. Performing CRC check verifies the integrity of the software. Press Start to Select. Press Tunes or Service to Exit.
Clear Credit Menu
- From the Utilities Menu, select Clear Credits and enter. Performing Clear Credit will delete any remaining credits posted. Press Start to Select. Press Tunes or Service to Exit.
Clear Audit Menu
- From the Utilities Menu, select Clear Audit and enter. Performing Clear Audit will delete all audit information found on the Audit Menu. Please record them if you ever need to reference the information. Press Start to Select.Press Tunes or Service to Exit.
Clear High Scores Menu
- From the Utilities Menu, select Clear High Scores and enter. Performing Clear High Score will clear the all high score tables. Press Start to Select. Press Tunes or Service to Exit.
Clear Player Stats Menu
- From the Utilities Menu, select Clear Player Stats and enter. Performing Clear Player Stats will clear all player information, including PIN, car upgrades and money earned. Press Start to Select. Press Tunes or Service to Exit.
Set Default Adjustments Menu
- From the Utilities Menu, select Default Adjustment and enter. Performing Default Adjustment setting will restore game adjustments back to its manufacturer recommended settings. The game will need to be re-calibrated. Press Start to Select. Press Tunes or Service to Exit.
Set Default Adjustments Menu
- From the Utilities Menu, select Reset Link System Config and enter. This utility allows the communication between linked games to be re-established due to a possible fault other than hardware. Check all network related hardware (cables, router) and make sure that they are connected and then power cycle the games. Press Start to Select. Press Tunes or Service to Exit.
Factory Restore Menu
- From the Utilities Menu, select Factory Restore and enter. Performing Factory Restore will restore game adjustments back to its manufacturer recommended settings and clear all audit information. The game will need to be re-calibrated. Press Start to Select. Press Tunes or Service to Exit.

