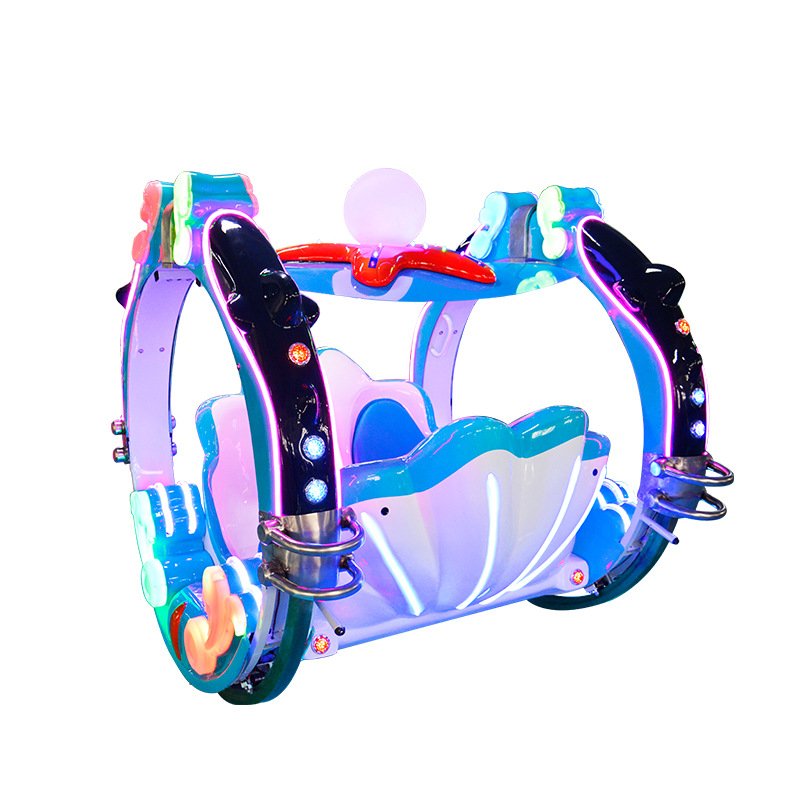
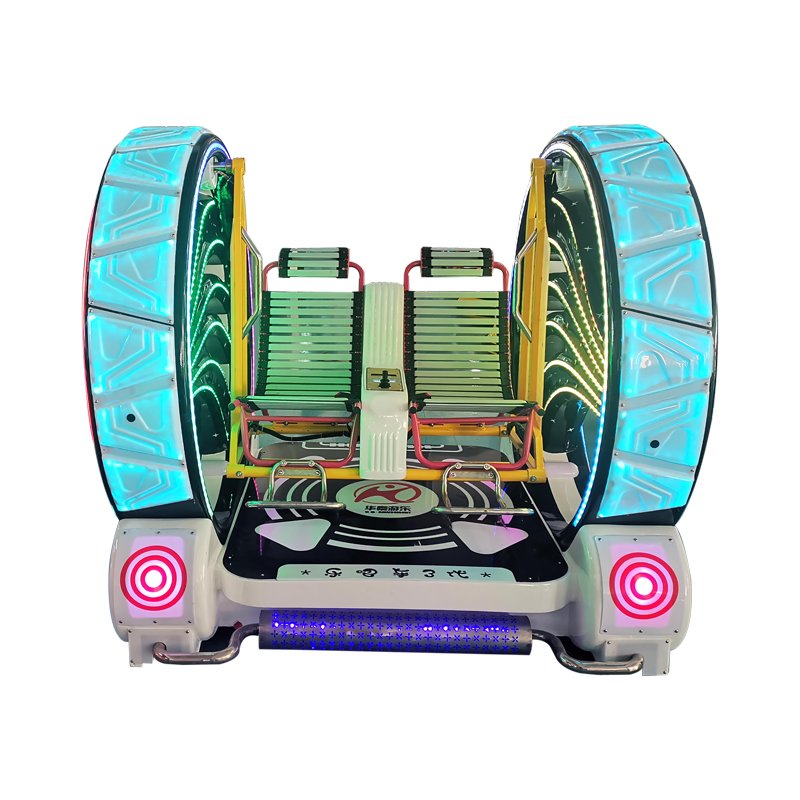
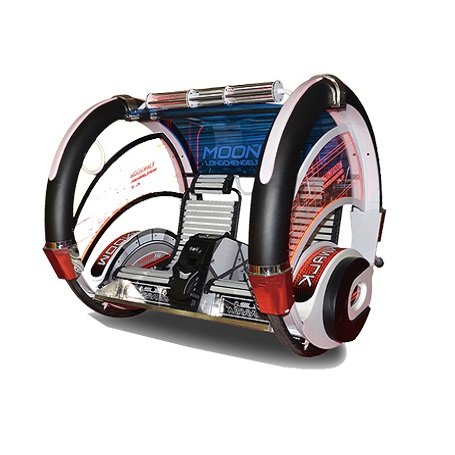
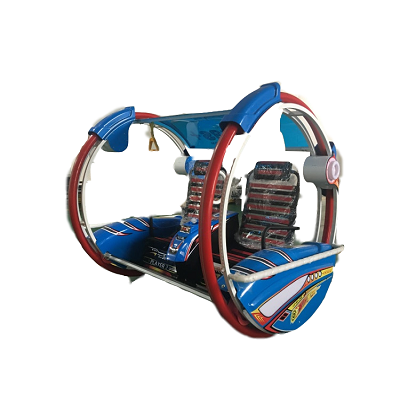
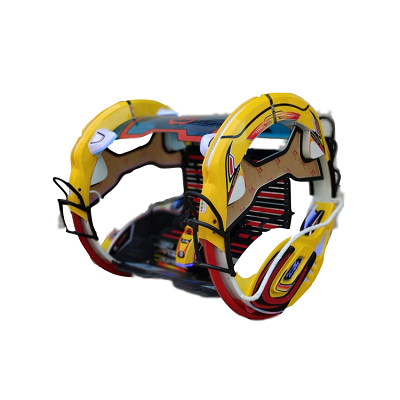
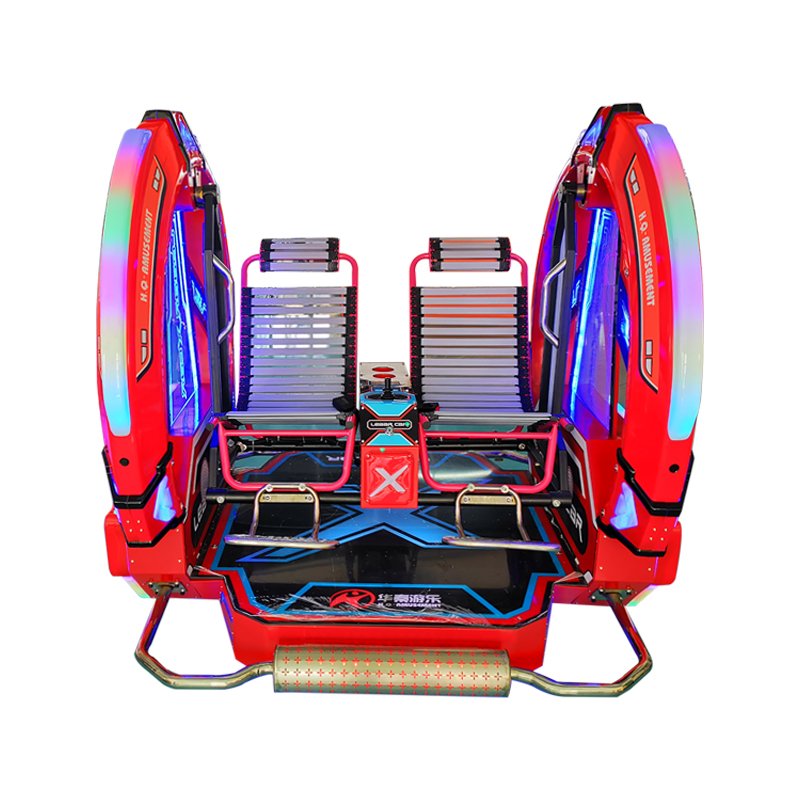
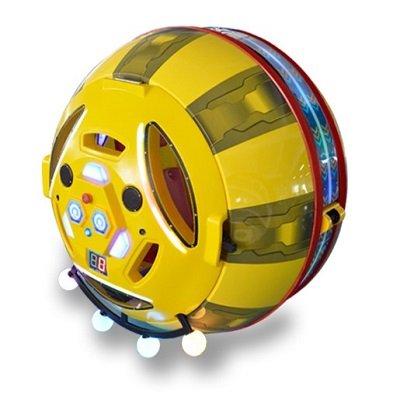
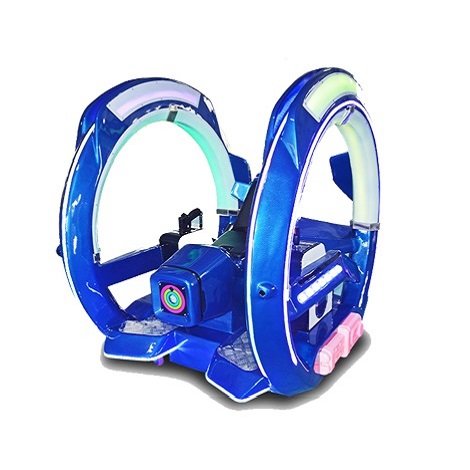
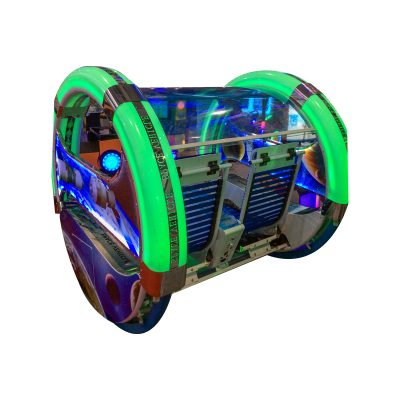
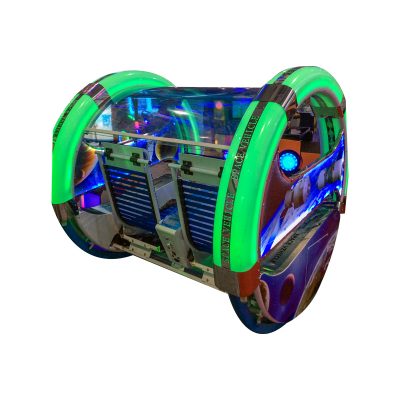
Amusement Rides 360 Degree Rolling Electric Happy Car
Detail
- Size:1750×1500×1500mm
- Weight : 200kg
- Power Supply:DC24V
- Power:200W
- Token:D=22mm~27mm
Game Play
- Insert the token and play
- Use the joystick to operate. Easy and convenient.it is support to operate to front, down, left and right.
- With luxury seat and good sound.
360 Rolling Car Assembly Manual
- The whole rolling car machine is wrapped with foam film and then wrapped with paper, and finally packaged with wooden frame. Due to customer requirements, this machine supports disassembly, assembly and shipment. But it is recommended to ship the complete machine. After the customer receives the machine.It must check the assembly instructions carefully first, and then follow the instructions to assemble the machine step by step.
- Firstly, stand up the two big wheels of the happy car, and then find the front main pole and the rear main pole to fix the two big wheels of the happy car.
- Fix the black square tube to the pedal at the front of machine, and then fix the two battery on the two large wheels on the left and right, and tight the screws.


- Fix the trunking rod at the back of the machine and fix the screws. Pay attention to distinguish the direction of the trunking rod. There are two motor wires in here. One yellow wire and one green wire and a colored light power supply on the left. Also there are two motor wires, one yellow-green wire , one blue wire and a speaker wire on the right side.
- Stick double-sided tape on the outer iron ring of the big wheel. Stick double-sided tape on the outer ring of the car. Put the power connector of the lantern to the connector of the left wheel. Place the LED light according to the instructions, and finally glue the light strip to the frame and tie it.
- Connect the power connector of the light strip and tie it
- Put the battery in the battery slot, please note that the battery must be placed correctly.
- Install the left motor. The yellow wire on the rack is connected to the black wire of the left motor. The green wire on the rack is connected to the red wire of the left motor. (Note: a. The motor wire must be firmly connected with a high temperature soldering iron, otherwise poor contact will occur. b. After connecting the motor wire, be sure to wrap the joint of the motor wire with insulating tape to prevent There is a short circuit.)
- Install the right motor. The yellow-green wire on the frame is connected to the black wire of the right motor. The blue wire on the rack is connected to the red wire of the left motor.
- Connect the power cord to the battery as shown in the figure. The picture on the left is the battery connection on the left, and the picture on the right is the battery connection on the right
- Fix the speaker on the right wheel. As shown in the picture on the left, tie all the wires on the rack, and then cut off the excess part of the tie.
- Fix the pedals with self-tapping screws on the iron pipe in front of the car
- Fix the housing of the left and right wheels, and then fix them with screws
- Install the canopy with a screw ring
- After installing the main board with screws, connect the wires
- Turn off the main switch on the main board, then connect the main board cable and the rack cable, and install the seat with screws
- Install the seat with screws and start the test machine
Installation Precautions
- This machine is suitable for indoor and outdoor use.
- Do not disassemble and assemble the machine at will.
- The power socket must be correctly connected when charging the machine
- The machine must be driven on a relatively flat ground, not on the road.
- Do not place the machine near high temperature or spark-prone equipment.
- Do not place debris on the machine table.
- Do not expose the circuit part of the machine to the outside for a long time.
Operation precautions
- Before turning on the power, check whether the power plug and power cord are in good condition. Check whether the voltage meets the requirements of the machine.
- The power supply voltage must be used according to the required voltage.
- Be sure to disconnect the power supply first when performing maintenance and overhaul.
- Non-professionals are not allowed to overhaul the control device of this machine at will.
- Please use appropriate accessories when replacing parts.
- When unplugging the power cord, pull it out by the plug, not the wire.
- Do not insert or pull out the plug with wet hands, and do not stretch or twist the power cord.
- When the eight lights at the battery indicator light only two red lights, it means that the power of the machine is insufficient at this time, please charge it in time. When there is only a red light on the battery indicator and the nixie tube flashes, it means that the machine is seriously out of power. At this time, the machine is no longer able to drive, please push the machine until charging out.
Instructions
- Insert tokens, or swipe your card, or remotely, you can put in up to 99 tokens;
- Operate the joystick to control the happy car to swim.
yutogamesadmin2024-02-07T19:20:56+08:00
yutogamesadmin2024-02-07T19:18:49+08:00
yutogamesadmin2024-02-03T16:28:43+08:00
yutogamesadmin2024-06-12T19:21:50+08:00
yutogamesadmin2024-06-12T19:19:40+08:00


